This page has some simple tutorials to make the most out of your ITLabs account from your home machine. This page is maintained by John Chilton, send any question or comments to chil0060@umn.edu.
Remote Login (Windows) – Run programs and access files on lab machines from your home Windows machine.
Transferring Files (Windows) – Exchanging files between your home machine and your ITLabs UNIX account.
Before you can login into an ITLabs computer remotely you must download an SSH client. The client used in the tutorial is a free SSH client called PuTTY. Click here to go to the PuTTY homepage and download it. Unlike a lot of windows programs PuTTY does not need to be installed. What you download is the executable and running the downloaded file starts PuTTY.
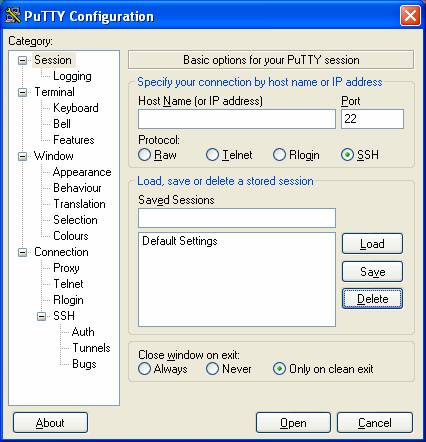
The PuTTY program will look like this when you start it up.
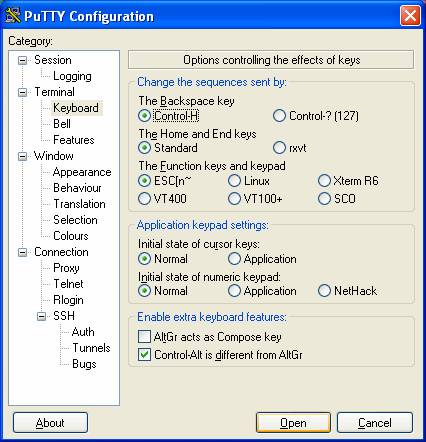
(OPTIONAL STEP) Click the Keyboard category on the left. This will bring up the screen below. Here you should change the option labeled "The Backspace key" from "Control-?(127)" to “Control-H”. Though not necessary this step makes working remotely a lot less frustrating. After the change, your PuTTY screen should look like this.
Now return to the session category, where you started. In the “Host Name (or IP Address)” field enter the name of the machine to connect to. Here I used apple.itlabs.umn.edu as an example, but you can use almost any machine on the ITLabs machine list. You should pick one running Solaris to have all of your settings and programs setup the same way they are in lab. Once you have filled in the host name field, you should give this session a name by filling in the “Saved Sessions” field, the name can be anything significant to you. It is just a way to identify the session.
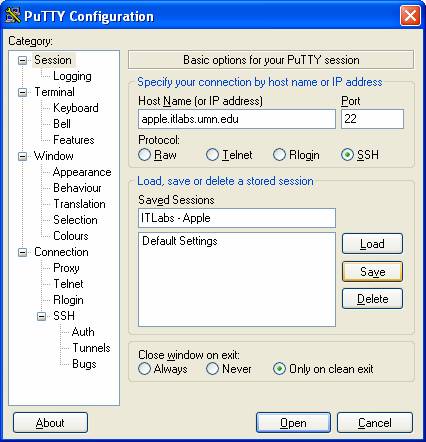
After filling in a host name and giving the session a name, click the “Save” button highlighted in orange above. Now the PuTTY screen should look like the one below.
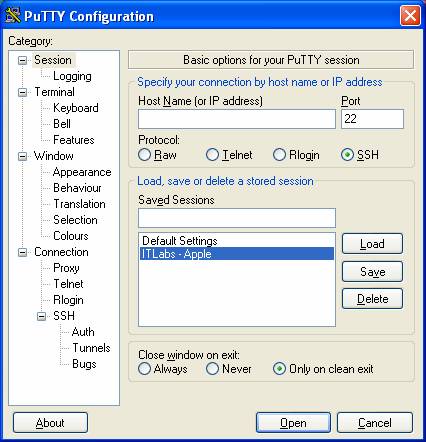
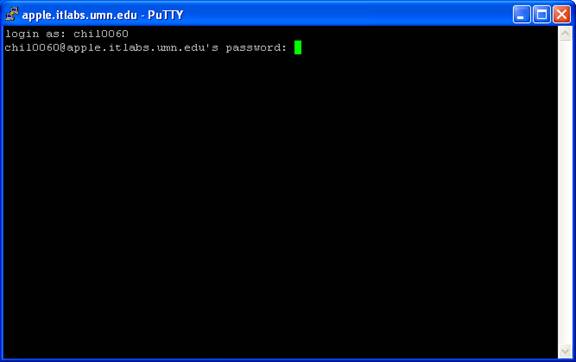
Next time you login your session should be there. Now start connect to the computer just double click the session name. This should give you a black and white screen with the a prompt requesting you to “login as:”. Here you want to use the username and password that you use to connect to the UNIX machines in lab.
Once logged in, you have a shell window just like the one you use in lab except it will not be able to do anything even remotely graphical in nature. Below is an example that uses cd and ls. To run STk, you will have to use the snow command instead of the stk command, because by default STk attempts to initialize X11 graphics. snow from the shell works just like STk from the shell, but it doesn’t initialize the graphics.

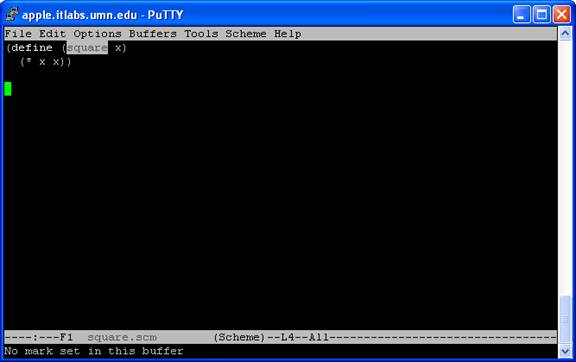
Just like in lab, emacs can be used to modify text files, for example scheme source code files. When you type “emacs filename”, emacs will detect that it cannot initialize graphics and it will run a graphics free session of emacs. An example is shown below. You will not have access to the same buttons and menus you are probably be use to from running emacs in the lab. Luckily emacs has a huge repertoire of keyboard shortcuts. Here is a link to a file with some of the essential emacs shortcuts, to for example close emacs and save files, that you may find useful http://www.math.utah.edu/lab/unix/emacs-commands.html.
One way to transfer files to and retrieve files from your ITLabs account is to use an SCP program. The Windows program that this tutorial is written with is called WinSCP and can be obtained from http://winscp.sourceforge.net/eng/download.php#download2. The first thing you need to do is download the program and install it. This is just like installing any other Windows program, and you should be fine installing with all of the default settings. After installing WinSCP, a shortcut to the actual program should be located in your Windows start menu.
Your WinSCP window will look like the one below after starting. In the “Host
Name” field enter the name of an ITLabs machine to connect to. Here I
used apple.itlabs.umn.edu as an example, but you can use almost any machine
on the ITLabs machine list.
After specifying a host name, fill your ITLabs Unix user name and password in
the respective fields. Also make sure the port number is set to 22 and the Protocol
used is SCP.

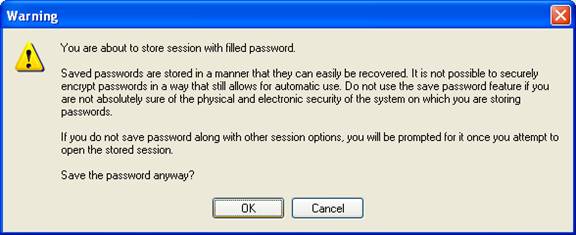
After you have filled in those fields, click the “Save…” button at the bottom of the Window. Clicking this should pop the dialog box below, just click “OK” button, unless you are worried about security. If you would prefer not to have your password saved on your computer, just click "Login".
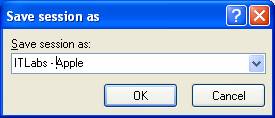
After clicking okay, you will be asked to give this session a name. It can be anything you want, it is just a way for you to identify connecting to this computer with this name and password.
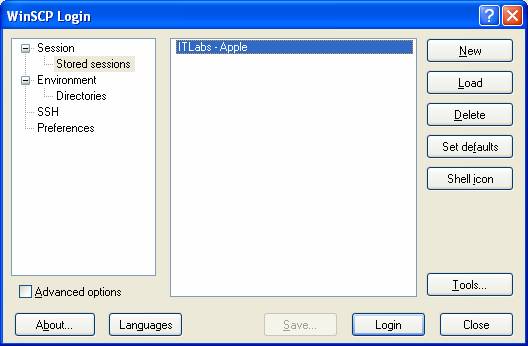
After clicking okay again, you will be presented with a window that looks like the one below. Just double click the session you just named to login into the remote computer and begin transferring files.
Below is what the WinSCP window looks like when I log in. The left panel is a Windows Explorer like view of my local computer, and the right panel is a similar view the files on the ITLabs domain. The interface should be very intuitive for anyone who has ever used Windows explorer. You can drag and drop files between panels to transfer the files from and to your account. Your current directory is shown just above each of the panels, to move further into the directory simply double click the subdirectory to move into. To move up in the directory tree just double click the folder labeled ".." at the top of the directory listing.

This page is maintained by John Chilton, send any question or comments to chil0060@umn.edu.