Textures with bump-mapping: |
|
This is good for creating Details on objects.
The key here is to know when to bump-map and when to actually
model something instead. I'm going to use both and hopefully this
will make it easier for you to decide when to do each. Texturing
is a great way to add depth to things without complicated modeling
however a mix of the two is often the answer. A good bump-map with
a little extra modeling will go along ways.
What were going to do in this example is add some simple snow objects.
and then add a stencil bump-mapped texture to our buildings
to look like there are more details. (As well as apply some texturing
to our new snow objects)
|
Modeling instead of Texturing: |
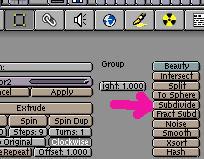
| The first thing I did was to duplicate our ground and
subdivide it a couple of times subdivide.
(fract-subdivide is nice to) Then I moved some points around and
made it a subsurface to smooth it out a bit. |
 |
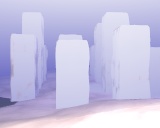
| Next I duplicated our buildings and did the same thing.
Along with that I slightly lifted the snow buildings and moved them
slightly to one side and away from the camera. giving the new objects
a new white material. I've rendered the buildings in wire frame so
you can see a little better what's going on.
|
 |
|
Texturing with Bump-Maps: |
|
First I created a couple of images in the Gimp.
Nothing Fancy but they will get the job done.
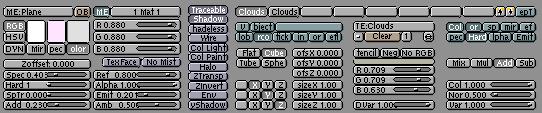
I'm going to use one as a color channel and the second as a bump-map.
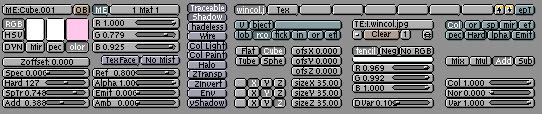
The following table contains what the images look like and the
material settings applied to both. (In the texture buttons all
I did was make sure repeat was clicked.)
|
| Image |
Material Settings |
 |
 |
 |
 |
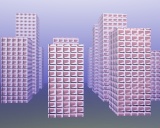
| Results |
 |
|
|
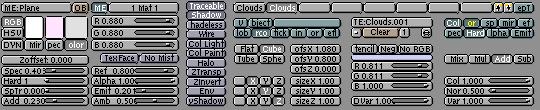
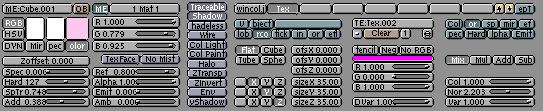
Next we will do the snow with the following texture properties.
For this I have two cloud textures (listed first and then after that the
material settings for each.
|
|
|
Things to try: |
- Use other things besides normal and alpha to apply textures to a material.
To affect reflections as well as other surface properties.
- Use more complicated Images so it doesn't look like a cookie cutter image.
|
More info can be found: |
|
|